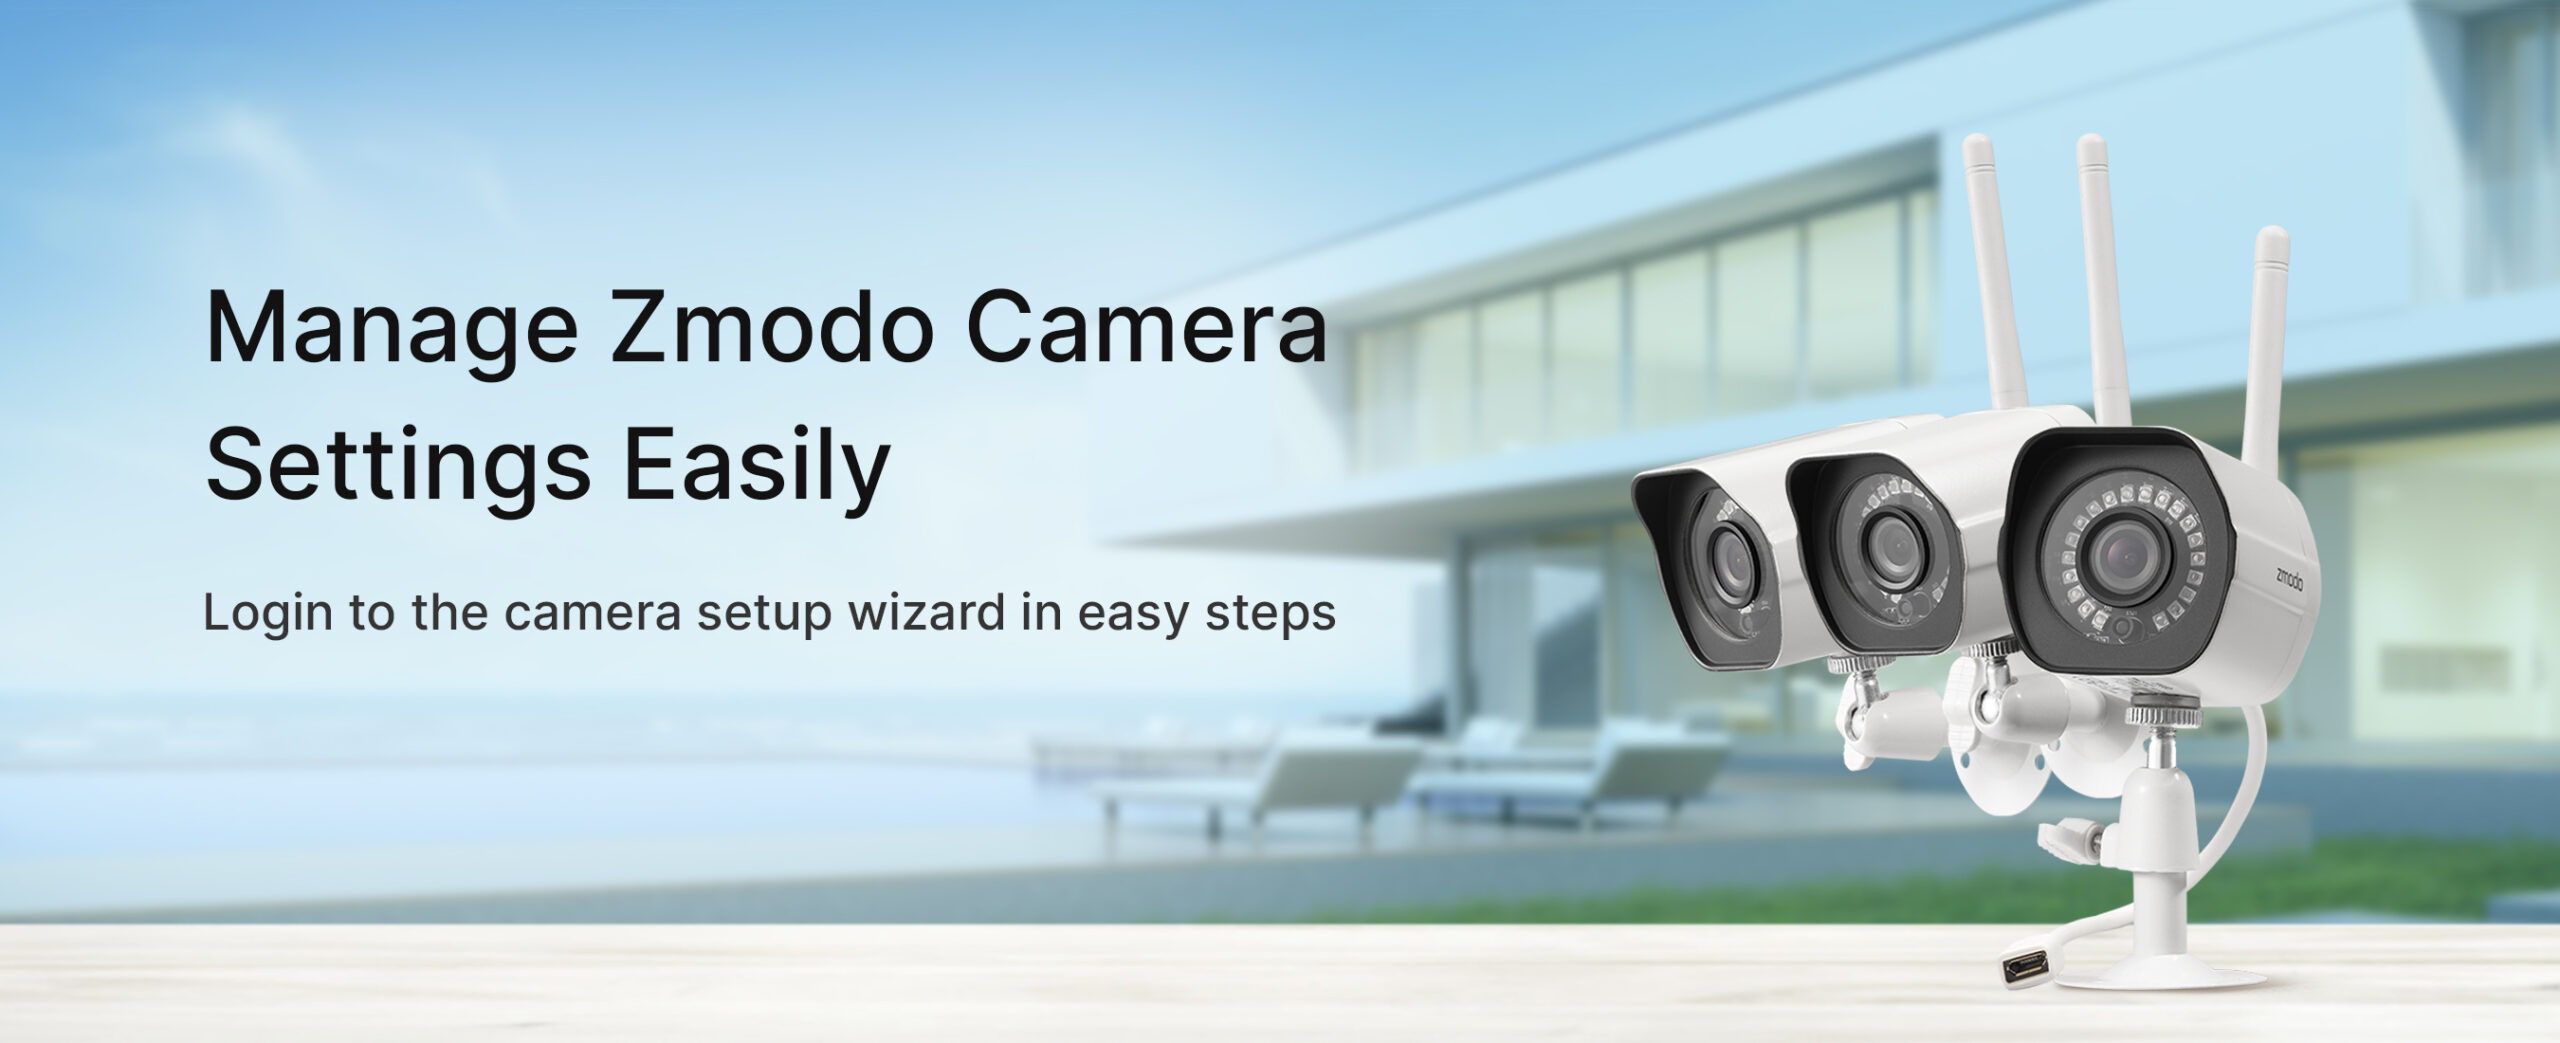
Looking for information on the Zmodo Camera Setup process?
Get step-by-step information on Zmodo wireless camera setup and installation
If you have recently purchased a new Zmodo wired Camera setup and are wondering how to set things up, this Zmodo camera setup guide will help you do just that. Moreover, if you are stuck at the Zmodo setup page, or are facing issues like being unable to access the Zmodo camera login page or more, this website will deliver you the complete information on that.
About your Zmodo Camera Setup
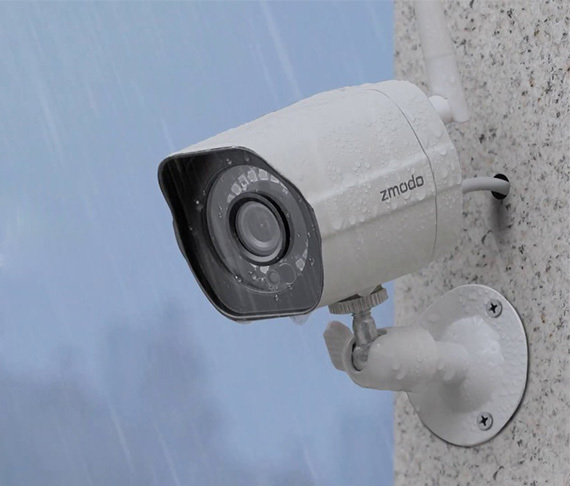
When you unbox the camera, you will find the camera unit, 3pc of screws and anchors, a mounting bracket, a power adapter, and a quick start guide. Make sure you have these before you start. Once confirmed, you can start with the mobile setup method for your Zmodo camera.
Zmodo wireless camera setup (App method)
Before you begin with the Zmodo camera setup process, make sure you have a strong WiFi connection at the location where you intend to install the camera. Also, make sure you have the SSID and the password of the 2.4GHz and the 5GHz network band with you. Test the internet speeds and make sure they are at least 1Mbps for each camera. Higher data speeds may be required for live viewing and using the Zmodo cloud service.
How to connect a Zmodo camera to an iPhone?
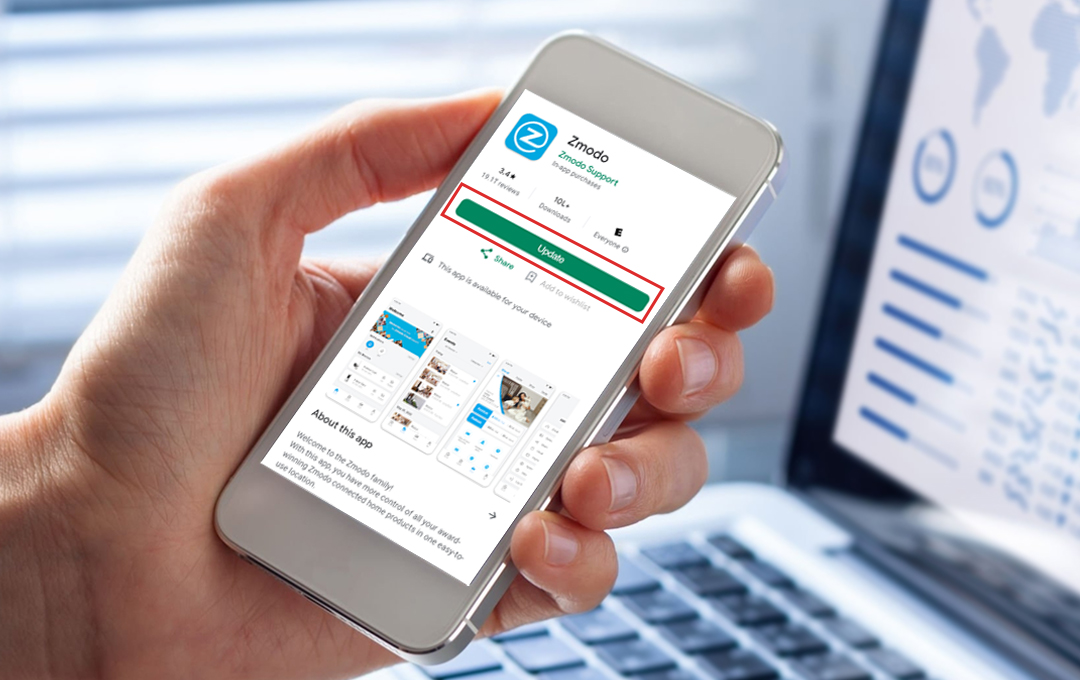
- Once ready, you can download and install the Zmodo app on your smartphone. Major application stores support the Zmodo app and you can install the same from there as well.
- On your iOS device, launch the Apple App Store and download the Zmodo app.
- If you already have the app, make sure it is on the latest version.
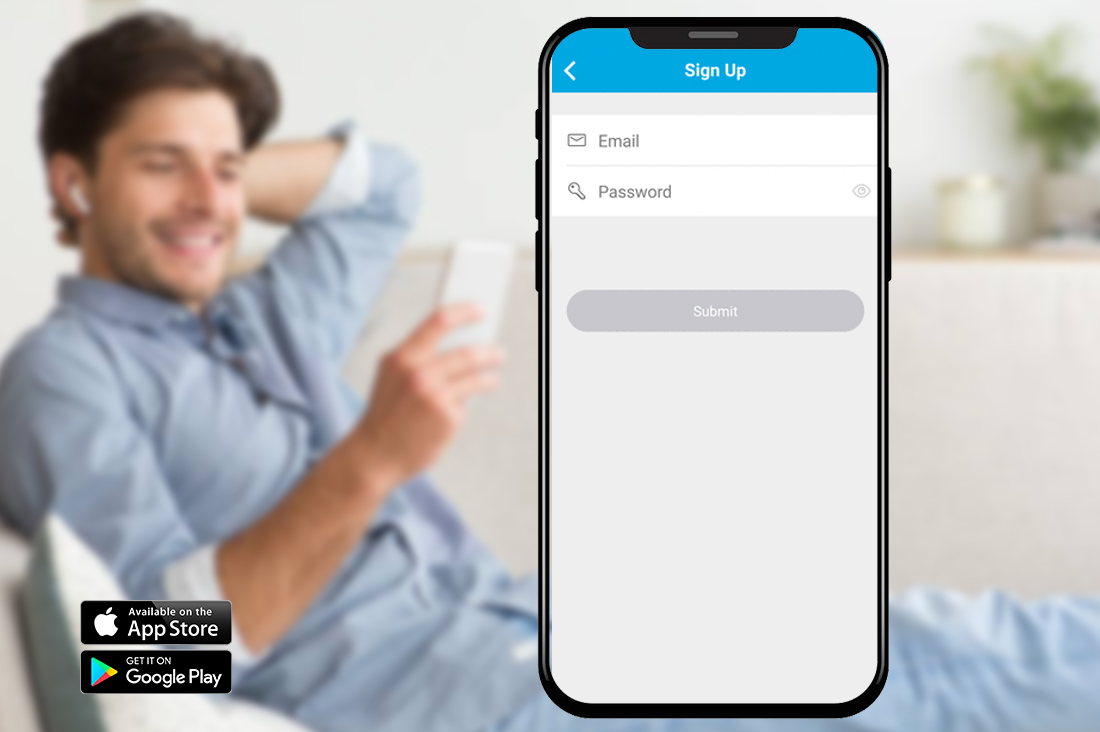
- Once installed, and updated, launch the app and sign up for a free Zmodo account. All the devices that you will install will be linked to this account only.
- Now, power on your zmodo security camera setup using the power adapter that comes with the box.
- Launch the app on your connected smartphone and login to the Zmodo account.
- Tap on the + icon from the top right corner and select the Add Device option.
- Select the “Zink” connection method to connect your Zmodo camera to the account.
- Once added, tap on the tick mark on the bottom of the screen. If you wish to add more cameras, tap on the + button on the screen to select and add them.
How to connect a zmodo camera to wifi?
The Zmodo app will now walk you through some on-screen instructions to complete the Zmodo camera setup process.
- Follow the prompts and select the “Tap here to begin setup” option.
- You will now be taken to the WiFi Settings page.
- If you are using an iOS smartphone, go to the WiFi settings page manually.
- Select the network with SSID as “ZMD_SAP” and connect to it.
- Return to the Zmodo app and select the SSID and password of the WiFi network that you wish to connect your Zmodo wireless camera setup to.
- Make sure you enter the details in the correct case, order, and sequence. Tap on the tick mark to proceed.
- The app will validate the credentials that you have entered and upon successful validation, will connect you to the WiFI network. This process might take a few minutes of time.
- Once the process is complete, you can name your camera and set a password for it. After you have done so, tap on the tick mark to proceed.
- The password for your zmodo wired camera setup acts as an additional security layer for your device. You won’t need to use a password when accessing your devices from within the Zmodo app, still, it is recommended for security purposes.
- The camera is configured securely and you can begin sharing/viewing your camera footage easily.
Mount your cameras at a safe location and you are ready to record, live stream, and save the videos to the cloud or local storage.
Latest Zmodo camera setup methods
If you feel confused or are unable to utilize the above-described steps properly, then go with the two latest techniques. We mention these easier but advanced steps that can help you to do Zmodo setup using Zink.
Steps for Zmodo camera setup using Zink
In today’s fast-paced world, ensuring the security of our homes is considered much more essential than anything. So, Zmodo cameras play a vital role here but is the setup for these security partners easy? Yes, it’s as easy as you play a video game online. So, go with the first reliable set-up technique Zink, and steps to apply it.
- Firstly, download and install the Zmodo app from the Google or Apple app store.
- Now, create a free account by using your email ID or contact number.
- When you have finished with your account creation, then go to the upper portion of the screen and look for the mini icon of “+”.
- Now click this tiny icon and you will automatically reach the “Zink Setup.”
- Ensure that your product meets the minimum requirements.
Start the Zink app procedure by clicking the “+” add device menu
- Your Device List home screen will appear once you’ve logged into your account.
- On the top right corner, click the Add Device “+” menu and choose ‘Zink’.
- After that, select the ‘Normal’ setup option if you do not already have a Beam.
Sync your phone with your Camera
- Here, you get prompted to join with your Wi-Fi signal.
- Press down the “Tap here to select the Wi-Fi” option.
- If you are linking the other ‘Zink’ WiFi device, connect with the SSID referred to as ‘ZMD_SAP’.
Connect the camera to the Wi-Fi
- Furthermore, enter the Wi-Fi information (SSID and password) of the network you want the device to connect to.
- Consider that you only require a 2.4GHz WPA/WPA2 password-protected WiFi network and your network name (SSID) MUST NOT contain spaces or be hidden.
- If it does, please select “Tap here to pick Wi-Fi” and join your cell phone to your Wi-Fi network.
- Once linked, you’ll be back to the Zmodo app until your device is connected.
Configure the Camera’s Settings
- Once you have done the Zmodo setup using the Zink procedure, you get connected to your cameras and configure them.
- You can set a time zone, name your device (from a preferable one or as per your location), etc.
- Set a strong password for the better security of your device.
Besides this, when you are done with setup, you get an option whether you want to share your device or not. Therefore, after the completion of these steps, you are ready to use your Zmodo cameras.
Instructions for Zmodo camera setup using Smart link(through app)
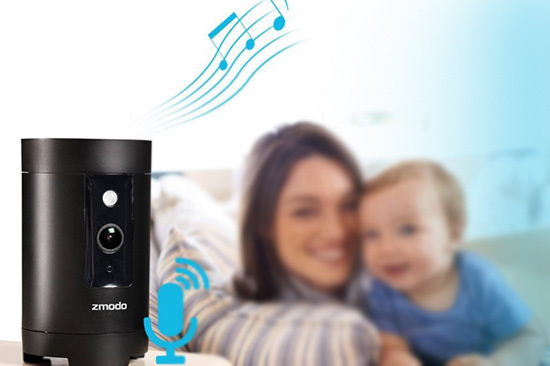
Moreover, new Zmodo wireless cameras easily support the “Smartlink” method. The Zmodo camera setup using Smart link will be used to connect the camera to the router’s WiFi connection the first time the camera is turned on, it displays a voice message that reads “ready for SmartLink”. So, it looks easy to connect with your smart cam by following some simple yet easy steps as discussed below.

Download and install the Zmodo app
- Firstly, visit your device’s app store and search for the Zmodo app.
- You can download it for your smartphone or tablet and install it.
- Once installed, open the app and create a new account or log in to your existing Zmodo account.

Before beginning with the setup
- Ensure you have all the info you need to use this item and then go through the installation part of this support page.
- Then, connect your phone, whether it’s Android or IOS, to whatever Wi-Fi network you want to connect it to.
- To get Zmodo Set up using a smart link, you need to have a Wi-Fi connection that’s at least 2.4GHz for it to work.

Add your cameras to the Zmodo app
- Now, begin with the Zmodo app and log in to your account.
- Tap on the “+” icon or the “Add Device” option to begin adding your cameras.
- Select “Zink” as the setup method.

Connect to Wi-Fi
- Turn your device on and select how many devices you want to configure.
- You’ll be asked to enter the password for your phone’s Wi-Fi connection.
- Make sure you set your password as hard as possible and correctly.
Allow SmartLink to connect automatically and find your device for a few minutes.

Name and customize your cameras
- Once your cameras are successfully connected, you can assign names and customize settings for each camera within the Zmodo app.
- This allows you to easily identify and manage your cameras from the app while doing the Zmodo setup using the smart link.

Test your cameras
- After completing the setup process, it’s essential to test your cameras to ensure they are functioning correctly.
- In addition, use the Zmodo app to view the live feed from each camera and check if the video quality and audio are satisfactory.
On the other hand, the given methods work properly after installing the Zmodo app on your phone. Likewise, if you still face any issues, then reach out to our support team.
Troubleshooting of your Zmodo cam issues
In addition, users face connectivity issues while setting up their Zmodo surveillance devices. Similarly, these issues are fixable and you can easily troubleshoot them by following simple methods, such as-
- Reset your ID and password if you used the incorrect one.
- Analyze your Wi-Fi signals, if these are weak, reset your device.
- Check your app updates, these are prompted on your Zmodo app.
- Update your firmware timely.
- If still facing issues, please feel free to contact our support team.
Why won't my zmodo camera connect?
Your zmodo camera system setup won’t connect to the WiFi network if you are using the incorrect network credentials. Remember you have to use the correct case, and order/sequence of the password and the SSID of your WiFi network to configure the same.
Also, if you are on an iOS device, you’ll need to manually connect your smartphone to the network of your camera. You can go to the WiFi settings page of your smartphone and connect to the camera’s network.
How to connect a zmodo camera to a TV?
If you are looking to connect your Zmodo wireless camera setup to a TV like Amazon FireTV or Alexa, you can follow some easy steps. But, before you start, make sure the FireTV is set up on your network.
- Now, Launch the Alexa app on your smartphone and click on the menu button on the upper-left corner.
- Select Skills and games from the options and search for the Zmodo skill option.
- Once visible, select the skill and log in to your Zmodo account.
- Once done, tap on the ‘Done’ button and select the ‘Discover Devices’ option.
- Your Alexa app will now detect the Zmodo camera and list them under the Connected devices tab.
You can now use the FireTV stick to command and control the Zmodo cameras easily.
How to find the Zmodo camera IP address?
In the IPC search program, double-click on the zmodo wireless IP camera setup. Type in the information that you obtained on your ipconfig results page from the Command prompt menu. Type these details into their respective fields.
You can assign the IP address that appears next to the IPv4 address in the ipconfig results, but label the last three digits to a larger value. This will then allow you to open Zmodo on internet explorer.
Alternatively, you can access the connected devices filed in your device settings and click on the device details option to obtain the Zmodo camera IP address.
Why is My zmodo camera not working?
Zmodo camera setup issues can be resolved easily using some basic troubleshooting steps.
- Try updating the Zmodo application installed on your smartphone. Once you have updated the app, also update the firmware of your Zmodo wireless camera setup.
- If you are having issues connecting your Zmodo camera to the WiFi network, cross-check the wifi credentials that you are using.
- If you continue to face issues with the Zmodo camera setup, you can reset the same to factory default. Use the Touchpad for about 5-10 seconds. Once the camera reset process is complete, the status indicator on the Zmodo camera setup will blink green.