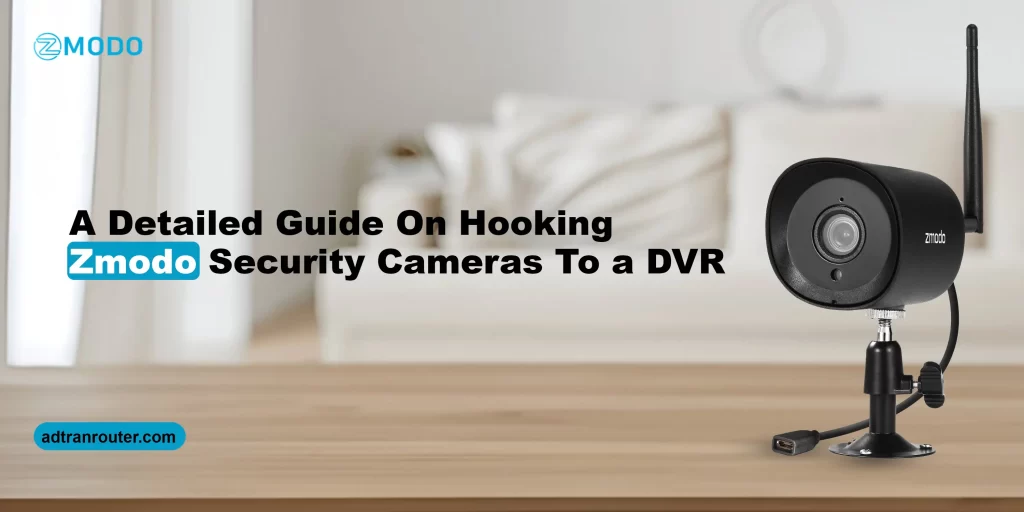
Generally, Zmodo DVRs are portable devices that are so convenient for playback, recording, live/remote preview, etc. Additionally, these are high-pitched smart audio and video solutions for your surveillance system. Further, if you use Zmodo CCTVs and want to know about hooking zmodo security cameras to a DVR, then you are at the right place.
Here, we share a detailed guide with you to understand the complete procedure for connecting the security camera to the DVR. In addition, you also discover the panels of the DVR and its features before linking it to the Zmodo surveillance devices. No, to get more elaborative information on how to hook Zmodo to DVR, you must walk through this guide!
Understanding the DVR and its features
Moreover, DVR stands for Digital Video Recorder. It is a compact device that records videos in a digital format. Additionally, it stores the video recordings on the SD memory card, SSD, USB Drive, and Local or networking mass storage devices. Commonly, DVRs come with various storage capabilities and features as per the models you use.
Besides this, DVR comes with the Front and Rear panel with different LEDs on it. Also, multiple ports are there including separate Hard Disk Installation space. Further, before you learn hooking Zmodo security cameras to a DVR, it is crucial to have a look at its primary features. We shed light on the common and essential attributes of a digital video recorder in this section, take a glance:
- Multi-area motion detection
- Compressed and Synchronized Audio/Video
- Live Recordings
- Preview and Playback
- Variable storage capacities as per the model
- Alarm & Multiple network support (DHCP, PPPoE, DDNS, etc.)
How to hook Zmodo to DVR using simple steps?
Furthermore, after unpacking the Zmodo DVR system, you must check it for any kind of physical damage. Also, check the given components, like cables, mouse, etc. Afterward, look over the DVR that you bought as it is 4 CHANNEL or 8 CHANNEL. Now, follow the steps below to begin with the procedure to link your Zmodo CCTVs to the DVR.
Preparation for hooking Zmodo security cameras to a DVR
- Initially, remove the cover of the Video recorder system and look for the data and power cable here.
- Now, place the hard disk in it and join the connectors (power/data) to the disk and fix the cover using screws.
- Afterward, collect the power supply equipment first (splitter/power adaptor with cable) and embed it in the DC 12V port on the back of the DVR.
- Next, use a Surge protector or a nearby power outlet to plug in the power plug of the DVR.
- After that, join the mouse in the USB port on the back of the Zmodo digital video recorder.
- Further, open the battery case of the given remote and place the batteries inside it. Now, position the case back as you remove it.
- Hereon, bring a VGA cable (not included in the box) to connect the monitor and DVR system.
Connecting the camera to the DVR
- First and foremost, unpack the camera set and remove plain film from it.
- Afterward, join the BNC (YELLOW) cable to one end of the connector cable.
- Twist the cable ends to lock them in place.
- Further, connect the red cord end to the other end of the connector cable.
- Again, bring the remaining video/power cables and link them to the Yellow (BNC) video connector to the CH1 port at the Rear panel of the DVR.
- Similarly, twist and lock the cable ends.
- Now, link the red power cable end to the black 4-port splitter cable.
- Similarly, join all the remaining cameras as you did above.
- In the end, connect the last single splitter end to the power Adaptor to finish hooking Zmodo security cameras to a DVR.
Pro Tip: You can also consider the user guide provided in the camera and DVR box to check and join the accurate cables.
Test Your Zmodo DVR & CCTVs
- When all are done with the cable connections, now connect your DVR to the router using an ethernet cable.
- After that, connect the monitor to the video recorder as shown in the user manual.
- Next, power on the DVR system, cameras, and the monitor.
- Hereon, watch the camera live view in testing mode on the monitor.
- If these are working fine, then install the Zmodo app on your smartphone or proceed with the user.zmodo.com web address on your PC to add your DVR and cameras.
- Finally, you are done with the Zmodo camera setup to the DVR.
In essence, this brief guide outlines the detailed procedure of hooking Zmodo security cameras to a DVR. If you still get stuck & seek expert help, connect with us using the given chat box.