Do you want to connect Zmodo camera to WiFi extender? Connecting a Zmodo camera to a Wi-Fi extender is a straightforward operation that can be performed in a matter of minutes. You can have your camera up and running in no time if you have the correct equipment. This post will walk you through the process of connecting your Zmodo camera to a Wi-Fi extender.
So without any further ado, let’s start with the guide to connect Zmodo camera to WiFi extedner?
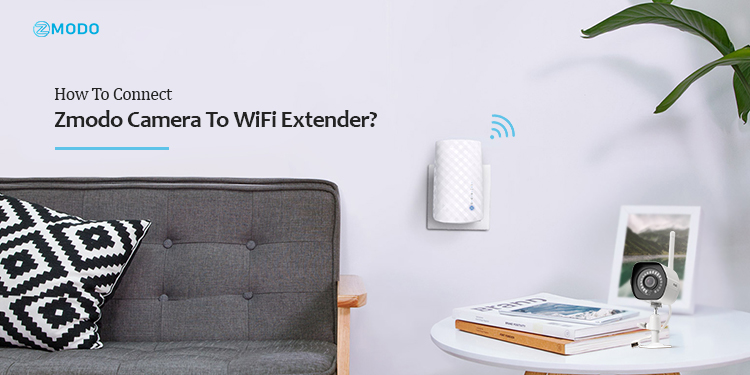
Steps to connect Zmodo camera to WiFi extender
In this section, you will learn about the steps to establish a connection of your home security camera with the WiFi extender’s network:
- Basic setup
Connecting your Zmodo camera to a Wi-Fi extension begins with plugging the extender into an electrical outlet. Place the extender in an area that is within range of your camera. Connect the extender to your Wi-Fi network after turning it on. You can achieve this by inputting your network’s Wi-Fi password into the extender. Once connected, the extender should be emitting a signal that your camera can detect.
- Install the Zmodo app
The second step to connect Zmodo camera to WiFi extender is to install the application on your mobile. After connecting the extender to your network, you must download and install the Zmodo app on your mobile device. Both Android and iOS devices can use the software. After installing the programme, launch it and follow the on-screen instructions to configure your camera.
See more steps
- Connect Zmodo camera to WiFi extender
After installing the Zmodo app, connect the camera to the Wi-Fi extension. To do so, launch the Zmodo app, tap the “Add Device” button, and then tap the “Wi-Fi” button. When prompted, provide your network’s Wi-Fi password. The camera should be linked to the Wi-Fi extender presently.
- Configure the Zmodo camera
- You’ll need to add the camera to the Zmodo app now that it’s connected to the Wi-Fi extension.
- To do so, launch the app and choose the “Add Device” option. Enter your camera’s device name and password when requested.
- You will be able to view the camera from the app after it has been added.
- After you’ve added the camera to the Zmodo app, you’ll need to modify the camera settings.
- To do so, launch the app and navigate to the camera.
- You may change the recording quality, enable motion detection, and configure notifications from the camera settings page.
- You may also change the field of view of the camera and the amount of light it can detect.
- Update your camera
If you want to upgrade your Zmodo camera, the manufacturer sells an upgrade kit. A new camera, mounting gear, and an upgraded Wi-Fi extender are included in the upgrade package. Simply follow the instructions that come with the upgrade kit to install it.
Finally, you wil be successfully to connect Zmodo camera to WiFi extender.
Conclusion
This was all about how to connect Zmodo camera to WiFi extender. Connecting a Zmodo camera to a Wi-Fi extender is a straightforward operation that can be performed in a matter of minutes. You can have your camera up and running in no time if you have the correct equipment. This post walked you through the process of connecting your Zmodo camera to a Wi-Fi extension. You may monitor your house or company from anywhere in the world by following a few simple steps.
For more help or answers to your queries, feel free to talk to our support team.